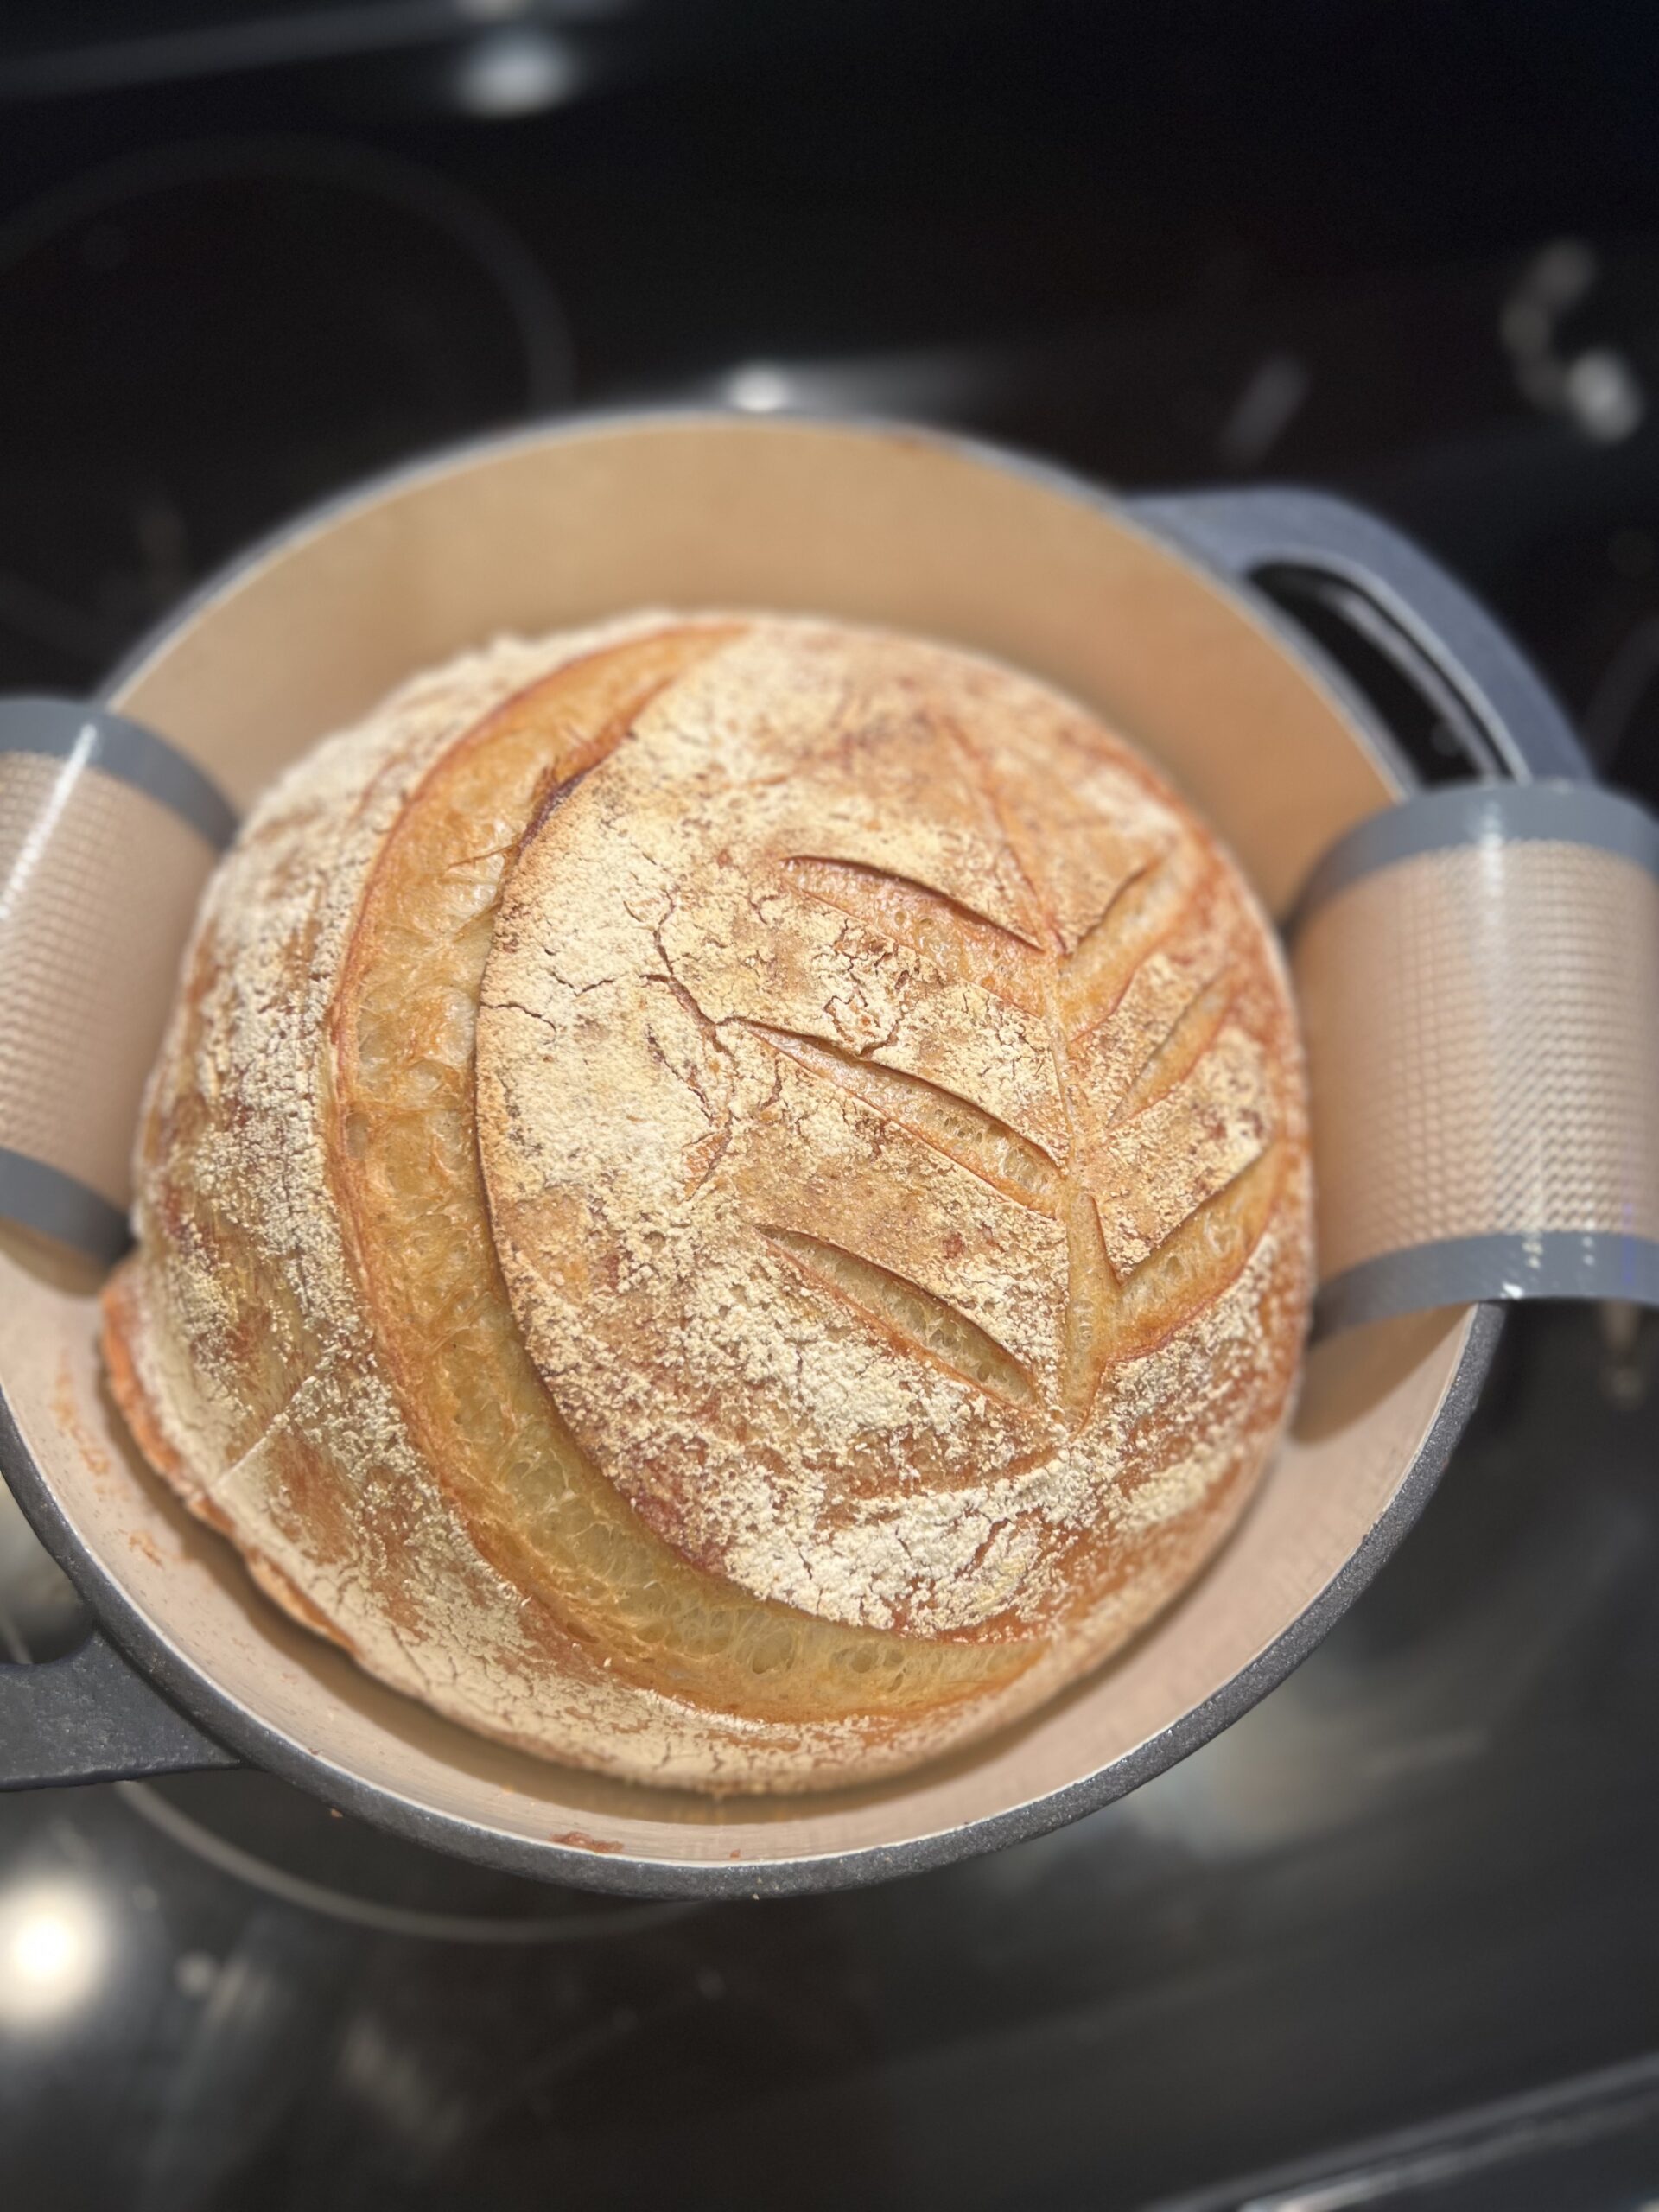
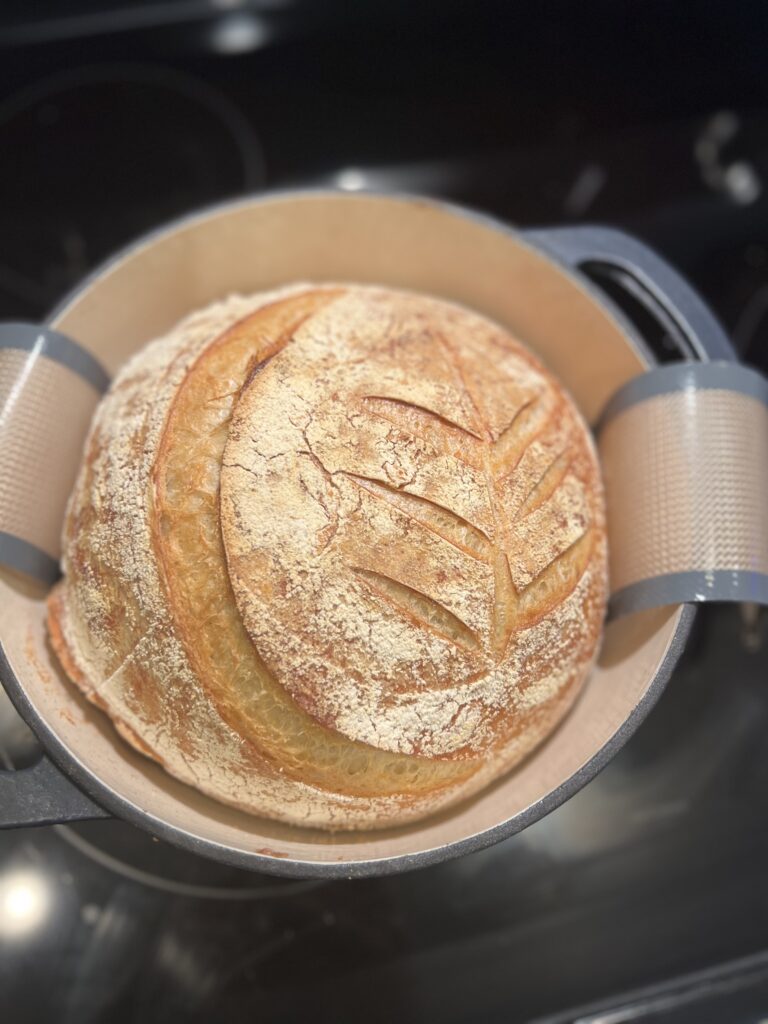
Did you know that using a tried and true sourdough recipe from someone in a different area of the country could mean that the recipe might not work in your location? Well, I didn’t! I tried about 3 different recipes before I decided to ask a sourdough beginner’s Facebook Group if anyone had a recipe that worked for them in South Florida. What a response!
This sourdough recipe that I have for you here is a culmination of recipes from the nice people that shared with me from that Facebook group and from a great lady in my community that was nice enough to do a demonstration for a few of us at her home one day.
A few notes about sourdough starter:
- I keep mine in the refrigerator until the morning before the day I plan to bake. I take it out that morning, feed it, discard, and feed again right before bed. The next morning it is perfect and ready for baking!
- When I discard, I discard into a jar in my fridge with a splash of water and a sprinkle of flour. As this discard accumulates, I use it for discard recipes and gifting starter.
A few notes about the tools I use:
- Glass jars – this is what I keep my starter in! A quart jar works for me because when I bake, I BAKE. So I need a lot of active starter at a time. I usually make 1 plain loaf, 1 loaf with an inclusion, sourdough bagels and sourdough english muffins. Sometimes I’ll even do cookies or cheez-its too! I try to make all baked goods and snacks at home.
- Danish whisk – This whisk is great for incorporating your dough. It’s perfect for whisking your water and starter together and then also great for pulling up and folding over the dough.
- Kitchen scale – This is a must have for baking your dough. Grams are a much smaller, therefore more accurate, unit of measurement than cups or ounces so you’ll definitely want to measure in grams.
- Clear glass mixing bowl – It is so much easier to check the progress of your dough while it is proofing if you can see through the mixing bowl. I like this one because I know the proofing is complete when the dough reaches the lid
- Tea towel – I see a lot of people use a lid or plastic wrap during their proofing or the bulk fermentation process and that is fine too! I just like the tea towel as a personal preference.
- Banneton – I love the banneton! But if you don’t have one, or don’t want one, you can also use a tea towel lined mixing bowl. Just make sure to dampen it and flour generously before putting your dough into it.
- 5.5-7 Quart Dutch oven – You don’t need to use a dutch oven for your sourdough however, it cuts down on a step for me and doesn’t take up the whole oven so I prefer it! (Information on how to open bake coming soon!)
- Silicone Sourdough Baking Mat – Previous to purchasing this mat I was blowing through parchment paper. The heat of the oven is so high that I wasn’t able to use the parchment like I normally would for something like cookies and this mat has been a perfect substitute – even an upgrade! It has a perfect circle in the middle to place your dough and then long handles on the side so you can safely pick up and place your dough into the dutch oven while avoiding the steam from the ice.
- Oven thermometer – Okay, I know your oven has temperature settings on it but oftentimes, oven temperatures are a little off. For example, my oven runs about 5 degrees hotter than what I set it for. If you’re confident in your oven temp, skip this tool!

Everyday Sourdough Recipe
Ingredients
- 400 g water at room temperature
- 100 g active starter
- 500 g bread flour (organic and unbleached is best!)
- 25 g salt *I prefer Celtic Sea Salt because it is super salty and has plenty of minerals
Instructions
Getting The Dough Together
- Whisk water and starter together vigorously in a see-through mixing bowl with your danish whisk until it bubbles up.
- Add your flour and mix until it all comes together. (this may take a few minutes as the dough is very thick.)
- Let sit for 30 mins in a warm place. *I like to cover mine with a damp tea towel.
- Then add salt for your first stretch and fold.
- 30 mins later, stretch and fold for the second time.
- 30 mins later, stretch and fold for the third time.
- 30 mins later, stretch and fold for the final time.
- Cover with a damp tea towel and let rise 50-75% *I check the proof after 3.5 hours as I’ve learned that it is perfect for my home. If you’re a beginner, check after the first 3 hours and then every 30 mins until it reaches 50-75% rise.
- Once your dough has grown to size, take it out of the bowl and shape it on the counter.
- Let it rest for about 20 more minutes on the counter then shape again. Flour your banneton generously and flip your bread dough into it so the bottom is now on top.
- Cover with a damp tea towel and put it in the fridge overnight (for the best taste!) or bake later the same day after a few hours of chilling.
When Ready To Bake
- When ready to bake, heat up your oven to 475 degrees with the dutch oven in it. *I like to keep the lid and the pot separate for optimal pre-heating.
- Flip dough out of the banneton onto parchment or silicone baking mat.
- Score however you’d like.
- Put about 3 ice cubes in the dutch oven and carefully place your dough and the parchment or baking mat into the dutch oven. *Be careful of the steam. Wearing full coverage oven mitts helps to avoid it.
- Put the lid on and place on the middle rack of the oven for 30 minutes.
- Then lower the temperature to 450 degrees, take the lid off the dutch oven and put it back in the oven for another 15 minutes. *I check through the glass to make sure it is the color I like and sometimes leave it in for a little bit longer.
Once Your Bread Is Baked
- Once your bread has been in the oven for a total of 45 minutes, or more if you choose, remove the dutch oven from the oven.
- Using a towel or oven mitts, take your bread out and flip it over. Knock on the bottom of your bread and it should sound hollow! *Be careful not to burn yourself. You can use a wooden spoon instead of your knuckles.
- Let the dough cool on a rack until it is cool enough to handle or until it reaches room temperature - about 2 hours.
- Enjoy!
Storing Your Sourdough Bread
- Once you’re ready to put your bread away, slice it to your preferred size and put into an airtight container. *Make sure the bread is completely cooling before putting it into the container or the slices will stick together.
- Store in the freezer. *I’m not sure how long it would be good for because we eat it so fast!
Sourdough Inclusions
- I love a jalapeño cheddar sourdough just as much as the next person… and a pesto parmesan loaf… and a chocolate chip loaf… Okay fine I love all the sourdough loaves! Want to try one? This recipe is perfect for inclusions! Here is how I do it:
- If there is liquid, like 15g vanilla, that you’d like in your dough, replace 15g of the water with vanilla so that you’re not adding any extra moisture. You’ll just be replacing some of the moisture from the water with moisture from the vanilla. Ex: the sourdough recipe calls for 100g water, you’ll change it to 15g vanilla + 85g water. You can do this with any liquid that is not acidic.
- When adding fresh ingredients like jalapeños, I slice them up and toss them with a bit of flour just enough to coat them and then fold them into my dough during the preshape before it goes in the fridge.
- With cheese I don’t change anything! Just fold it into the dough during the preshape before it goes in the fridge.
- When using items like pesto that are semi-liquid and semi-solid, I weigh how much I’d like to put in and then divide the weight by 2, and that is how much less water I’ll use. You can add the pesto in right in step #1 for a more even pesto flavor throughout but I prefer to add it during the preshape because I like the swirly look of it throughout the dough and I find I don’t get a great crumb when I mix it in before autolyse.
I hope you found all of this sourdough information helpful! I tried hopping on the sourdough train 3 times before getting it right so just keep trying and don’t get discouraged! Sourdough takes time to perfect but once you do you’ll never go back!

